

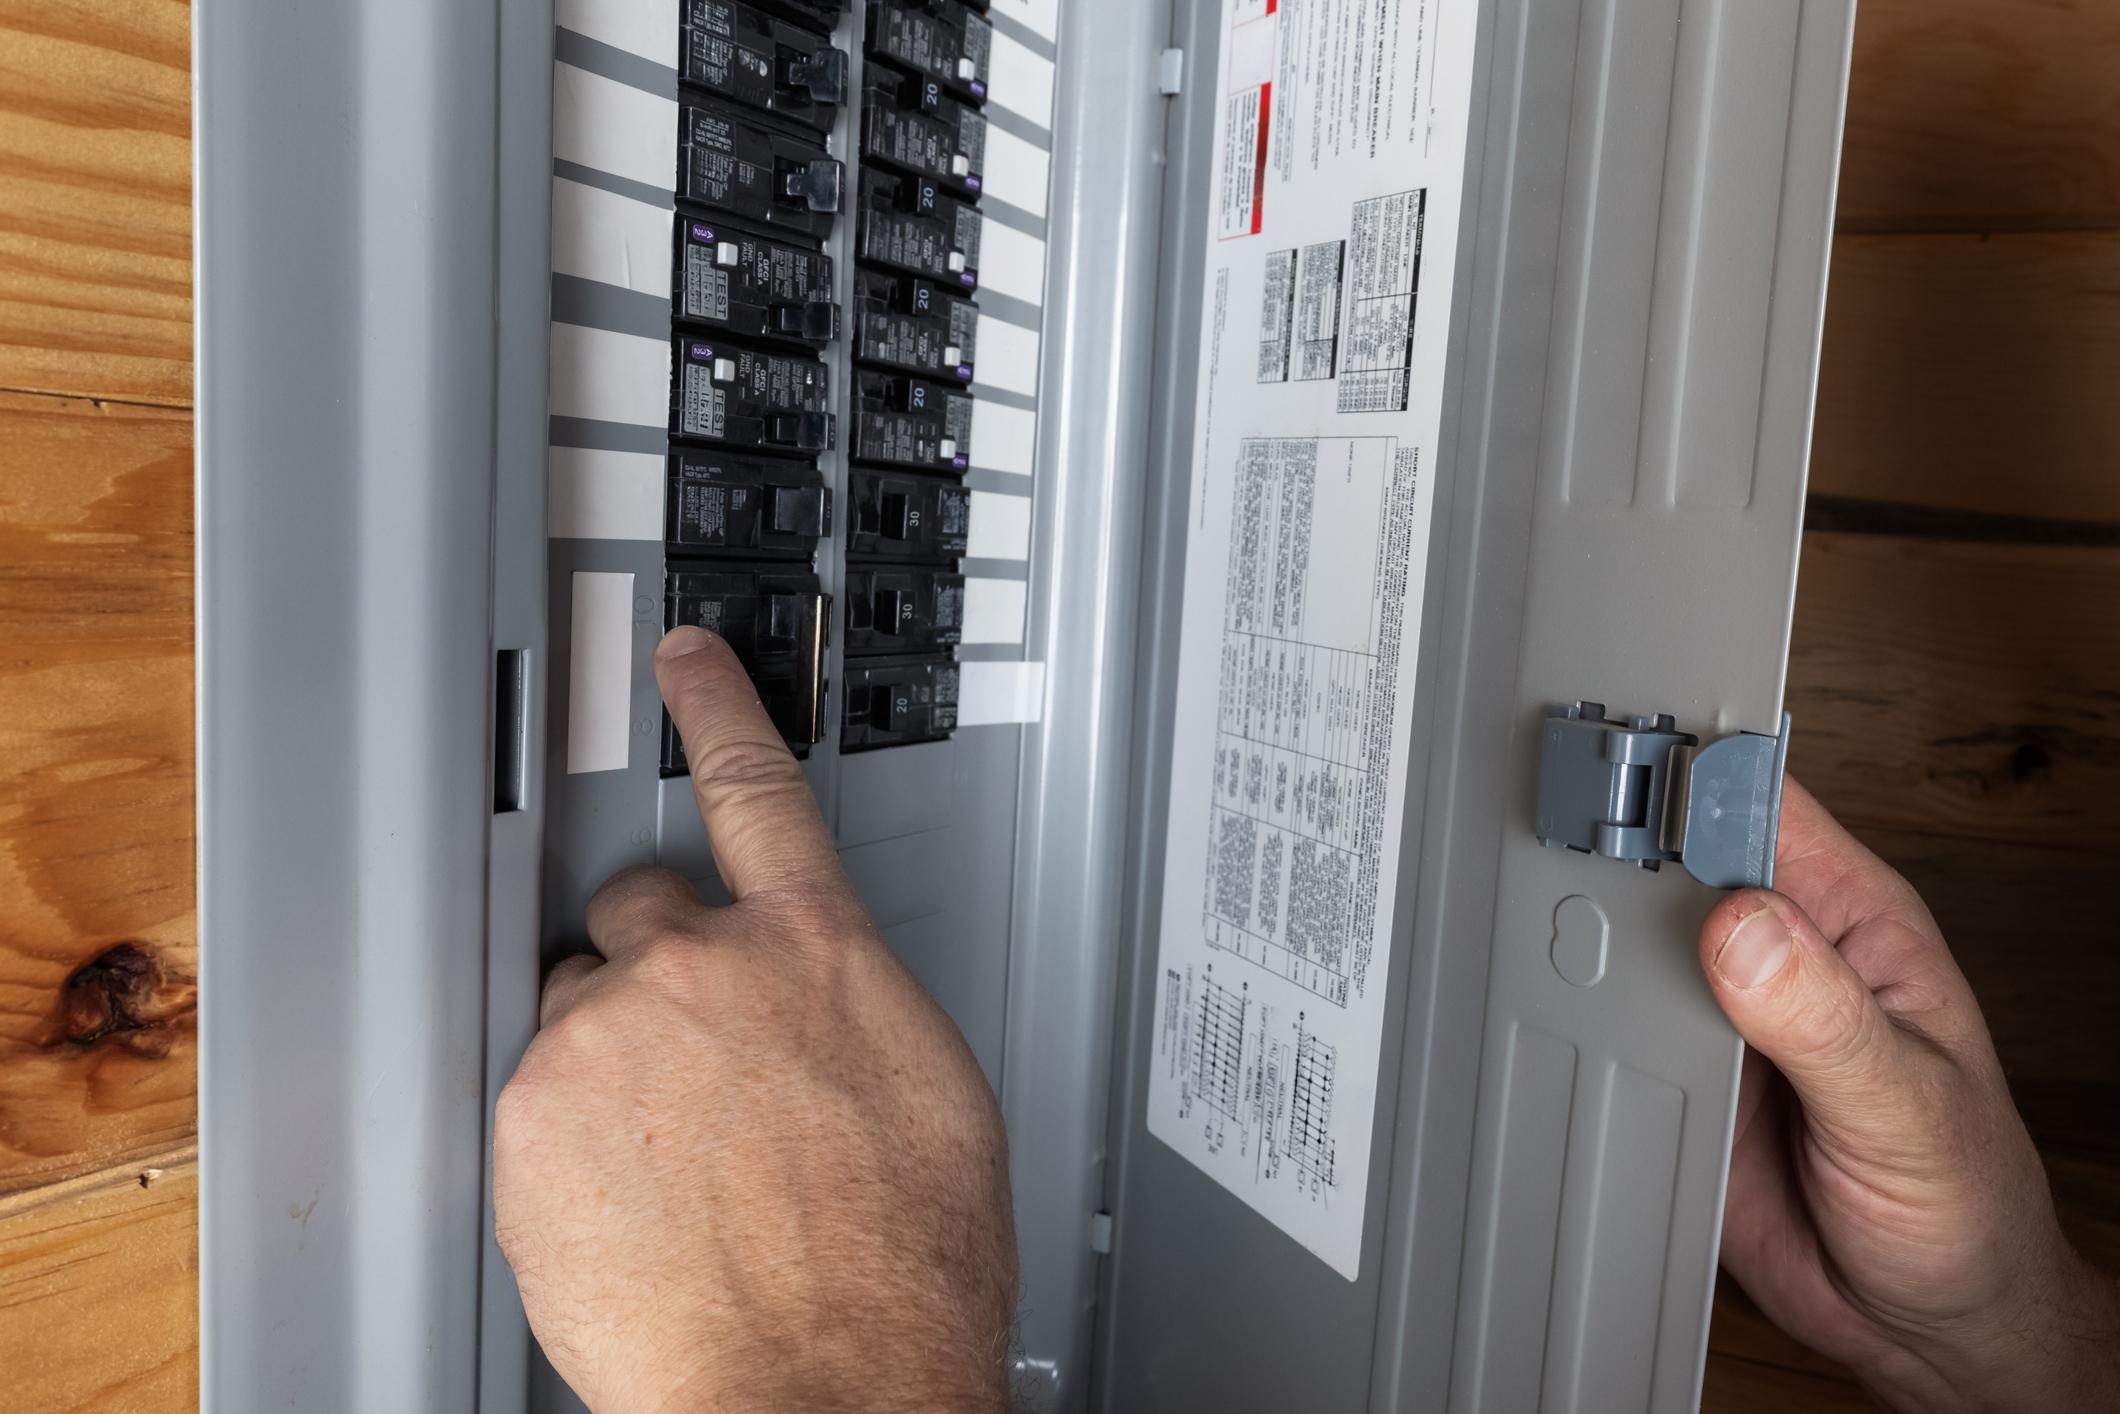
Every home's electrical panel is the central hub where power enters the house and distributes to every outlet, appliance, light fixture, and system inside. When a circuit breaker trips, knowing exactly which breaker controls which part of your home is the difference between restoring power in thirty seconds and spending an hour hunting through an unlabeled box. When an electrician needs to de-energize a circuit before working on an outlet, an accurate panel map is a safety tool, not just a convenience.
This guide covers everything from the original Mister Sparky panel-mapping process through the tools professionals use, what your finished map should actually say, and the common problems that surface when you map a panel for the first time.
Why Your Panel Map Matters
Most homeowners only think about their electrical panel when something goes wrong. A tripped breaker during dinner, a flickering circuit, an appliance that suddenly stops working. In those moments, an unlabeled or incorrectly labeled panel adds frustration and time to every troubleshooting step.
A complete, accurate circuit directory does more than help you find a tripped breaker quickly:
- Emergency safety: In a fire, flood, or electrical emergency, you may need to cut power to specific circuits or the entire home immediately. A clear map makes that possible in seconds.
- Renovation planning: Any electrical work, whether adding an outlet, upgrading lighting, or installing an EV charger, begins with knowing which circuits have available capacity and where the relevant breakers are.
- Preventing overloads: Knowing which outlets and appliances share a circuit lets you distribute high-draw devices intelligently rather than discovering their shared circuit by tripping a breaker.
- Accurate maintenance: When a licensed electrician works on your home, a current circuit map prevents them from working on the wrong circuit and gives them a starting point for any diagnostic work.
Circuit breakers tripping is one of the clearest signals that your home's circuits need attention. Knowing exactly which breaker tripped, what it controls, and what was running on that circuit at the time is information a clear panel map provides instantly.
Before You Begin: Understanding What You Are Looking At
Locate your home's main electrical panel. It is most commonly found in a basement, garage, laundry room, utility closet, or hallway. Some homes, particularly older ones, have multiple panels: a main panel plus one or more subpanels in different areas of the house. Identify all panels before beginning.
When you open the main panel, you will see:
The main disconnect (main breaker): A large double switch at the top of the panel, set apart from the smaller breakers below it. This switch cuts power to every circuit in the panel simultaneously. If labeled, it will show the home's service amperage: 100, 150, or 200 amps for most residential services.
Individual circuit breakers: The rows of smaller switches below the main disconnect. These control individual circuits that feed power to specific outlets, fixtures, and appliances throughout the home.
Existing labels: There may already be handwritten or printed labels next to each breaker. These are your starting point, but treat them with appropriate skepticism, particularly in older homes or homes that have had work done. Labels made by a previous owner may be inaccurate, incomplete, or never updated after electrical work changed the circuits.
The older home electrical guide covers the specific panel and wiring conditions common in homes built before 1970 that affect how mapping works, including fuse boxes, split-bus panels, and Federal Pacific or Zinsco panels that have known safety concerns and should be evaluated professionally before mapping work begins.
Single-Pole vs. Double-Pole Breakers
One of the most useful things to understand before mapping is the distinction between the two types of circuit breakers in your panel.
Single-pole breakers are the narrow individual switches that take up one slot in the panel. They typically control 120-volt circuits at 15 or 20 amps. These circuits power most of what is in your home: lighting, standard outlets, and most household appliances like refrigerators and dishwashers.
Double-pole breakers take up two adjacent slots and switch together as a single unit. They control 240-volt circuits at higher amperage: typically 30, 40, 50, or 60 amps. These circuits power high-demand appliances and systems including:
- Electric ranges and ovens
- Electric dryers
- Central air conditioning
- Water heaters
- EV charging stations
- Subpanels
Start your mapping session with double-pole breakers. These large-load circuits are most often already labeled correctly because they were installed for a specific, known purpose. Identifying them first clears the most prominent breakers from your task and leaves you to work through the smaller single-pole circuits systematically.
Understanding which circuits are at or near their capacity matters for planning. Overloaded circuits that serve multiple high-draw devices are one of the leading causes of nuisance tripping and, in older wiring, a fire hazard. Your circuit map is the tool that reveals these situations before they become problems.
Tools You Will Need
Non-contact voltage tester (NCVT): The most important safety tool for any electrical work. This pen-shaped device detects the presence of AC voltage without touching any wire or contact. Before touching any circuit or working near the panel, verify with the NCVT that the circuit is de-energized. An inexpensive, reliable model from a hardware store is sufficient.
Outlet tester (plug-in circuit tester): A three-prong device that plugs into any standard outlet and displays a pattern of indicator lights showing whether the outlet is wired correctly, whether it is grounded, and whether GFCI protection is present. Essential for testing outlets during mapping and identifying wiring faults at the same time.
Circuit breaker finder (circuit tracer): A two-piece device consisting of a transmitter that plugs into an outlet or clips onto a circuit and a receiver that you carry to the panel. The transmitter sends a unique signal through the circuit wiring. At the panel, you scan each breaker with the receiver until it beeps or lights up at the correct one. This tool lets one person map the panel without an assistant and without flipping breakers repeatedly.
Cell phones or walkie-talkies: For the two-person method, communication between the person at the panel and the person inside the home is essential. Cell phones work well for this.
Notebook and pencil: For recording findings as you go. Use pencil so you can correct errors easily.
Durable label tape and a permanent marker: For final labeling inside the panel. Standard paper labels peel off from heat over time. Vinyl label tape or purpose-made circuit directory labels hold up much better.
Flashlight: Panel interiors are dark. A hands-free headlamp is ideal.
The electrical safety checklist covers the broader set of tools and habits for safely working around your home's electrical system. Reviewing it before beginning a panel mapping session ensures you are approaching the work with appropriate preparation.
Safety Rules Before You Begin
Mapping an electrical panel requires working near high-voltage components. The following rules are non-negotiable:
- Never remove the panel cover. The mapping process as described here requires only that you open the panel door and flip individual breakers. You do not need to access the interior wiring, and you should not. The bus bars inside the panel carry live current regardless of what position the main breaker is in. Even with the main breaker off, the service conductors entering from the utility remain energized and lethal.
- Always verify with a voltage tester before touching anything. Existing labels may be wrong. A breaker in the off position does not guarantee the circuit is de-energized if the wiring is unusual or incorrectly installed.
- Work in dry conditions. Moisture and electrical work do not mix.
- Shut down sensitive equipment before beginning. Computers, servers, and any device sensitive to sudden power interruption should be powered down before you start flipping breakers. You will be disconnecting power to every circuit in the home at some point during this process.
- Reset digital clocks and check UPS devices after finishing. Microwave clocks, stove clocks, and any device that lost power will need to be reset.
The dangers of DIY electrical work are most acute when people remove panel covers or attempt to work on live circuits. Panel mapping as described in this guide stays on the safe side of that line: you are only flipping breakers and testing outlets. If anything inside the panel looks wrong, scorched, warm, or unusual, close the panel and call a licensed electrician rather than investigating further.
Step-by-Step: The Two-Person Method
The original Mister Sparky guidance on the two-person method is exactly right and remains the fastest way to complete panel mapping. Here is the full sequence:
Step 1: Prepare the home. Before flipping any breakers, plug a lamp, nightlight, or small radio into every unused outlet throughout the home. These serve as visual and audible indicators: when a circuit loses power, any plugged-in device on that circuit immediately shows it. This eliminates a significant amount of back-and-forth walking.
Step 2: Draw a rough floor plan. On a sheet of paper, sketch each room with the approximate location of every outlet, switch, and hard-wired fixture (stove, dishwasher, garbage disposal, etc.). This becomes your working document.
Step 3: Establish communication. The person at the panel and the person inside the home each have a phone. Coordinate before flipping anything.
Step 4: Start with double-pole breakers. Switch off the first double-pole breaker. The person inside notes everything that lost power: what appliance stopped running, which outlet is now dead. Record this on the floor plan.
Step 5: Work through single-pole breakers one at a time. Flip one breaker off. The person inside walks through the home noting every light, outlet, and device that lost power. This matters: a single circuit often covers more than one room, or only part of a room, or an unexpected combination of fixtures across the home. Check thoroughly before moving on.
Step 6: Test all outlets, including unused ones. For outlets with nothing plugged in, use the outlet tester to determine whether they are on the circuit you just disabled. This is one of the most important steps the original Mister Sparky article identifies, and it is easy to overlook.
Step 7: Record everything as you go. Do not try to remember. Write down on your floor plan which breaker controls which outlets, lights, and appliances. Use breaker numbers as your reference (1 through however many are in the panel, counting from the top).
Step 8: Restore each breaker before moving to the next. Turn the breaker back on before flipping the next one. This reduces the number of variables in play at any one time and makes recording easier.
Having accurate records also matters beyond convenience. During a disaster, a flood, fire, or extended power outage, knowing which breakers control critical systems (sump pump, refrigerator, furnace) and which control non-essential loads can inform decisions about managing limited power from a generator or the grid. The disaster preparedness guide covers home energy management during emergencies, for which an accurate panel map is an essential foundation.
The Solo Method: Using a Circuit Tracer
If no second person is available, a circuit breaker finder (circuit tracer) lets one person complete the mapping process without constant trips between the panel and each outlet.
How it works:
- Plug the transmitter into an outlet or attach it to a circuit.
- The transmitter sends a unique signal through the circuit wiring back to the panel.
- At the panel, scan each breaker with the receiver. It beeps or lights up when it finds the correct breaker.
- Record the breaker number for that outlet, then move the transmitter to the next outlet.
This method works for outlets but not for light fixtures directly, unless you use a lamp socket adapter (a pigtail with an Edison base that screws into the light socket and accepts the transmitter). Some circuit tracer kits include this adapter.
Circuit tracers range from basic models around $30 to professional-grade units that accurately map large panels with dozens of circuits. For a single-use home mapping project, a mid-range model is more than adequate. The surge protection guide is relevant here: voltage spikes from the utility grid can affect the accuracy of transmitter signals during mapping, so work during stable grid conditions rather than immediately following a storm or power restoration event.
How to Label and Record Your Final Map
Once you have tested every circuit and confirmed your notes, create the permanent record. The National Electrical Code requires that every circuit be clearly identified, specifying the purpose of each breaker in language that is readable and specific.
What good labels look like:
- Kitchen outlets, north wall
- Living room ceiling light
- Master bedroom outlets
- Bathroom outlets (GFCI protected)
- Refrigerator (dedicated)
- Washer (dedicated)
- Electric dryer 240V
- Central AC 240V
- Garage outlets
What poor labels look like:
- Kitchen stuff
- Bedroom
- Misc
- Unknown
- Spare
Vague labels are worse than no labels in an emergency, because they create false confidence. Be specific enough that anyone, including a first responder or an electrician who has never been in your home, can act on the information correctly.
Where to keep the map:
The original Mister Sparky guidance: affix the completed guide to the panel door. If there is not enough space to write detailed labels next to each breaker, number the breakers and post a full numbered list on the door. This can be a typed and laminated list or a copy of your floor plan with circuit numbers noted. Keep a second copy elsewhere in your home: photographed on your phone, printed and stored in a home files folder, or saved in a cloud document.
When to update the map:
Update the circuit directory any time electrical work is performed on your home. Adding circuits, moving outlets, upgrading appliances, or finishing a basement all have the potential to change which circuits serve which areas. Build an annual circuit directory review into your seasonal home maintenance routine so the map never drifts too far from reality.
Understanding Dedicated Circuits
As you map your panel, you will encounter circuits that serve a single device rather than a set of outlets or fixtures. These are dedicated circuits, and they appear because certain high-draw appliances require their own circuit to operate safely.
Common dedicated circuits include:
- Electric range or cooktop (50-amp double-pole)
- Electric dryer (30-amp double-pole)
- Central air conditioner (varies by system size)
- Refrigerator (20-amp single-pole in modern code-compliant installations)
- Dishwasher (20-amp single-pole)
- Garbage disposal (20-amp single-pole)
- Microwave (20-amp single-pole)
- EV charger (40 to 60-amp double-pole)
- Hot tub or pool (varies)
When mapping, it is worth noting which appliances are on dedicated circuits and which are shared. If you discover that your refrigerator shares a circuit with the kitchen's general outlets, that is worth flagging. Modern electrical codes require dedicated circuits for refrigerators in new construction, and sharing a circuit with other kitchen loads can cause the circuit to trip at inconvenient moments and potentially affect the refrigerator during a high-load trip.
The home EV charger guide explains why EV chargers require dedicated 40 to 60-amp circuits: the continuous high current draw of a charging session would overload any shared circuit. If you are planning to add an EV charger, your panel map is the starting point for determining whether your panel has available capacity or whether a panel upgrade is needed first.
What Mapping Reveals: Red Flags to Note
Panel mapping frequently surfaces conditions that owners did not know existed. As you work through each circuit, note the following:
Circuits that control nothing at all. If you flip a breaker and nothing anywhere in the home loses power, that circuit may be truly unused, or it may serve a junction box in a wall, a buried outdoor circuit, or a circuit for a system that was removed during a renovation. These should be investigated professionally rather than ignored.
Breakers that feel warm. During mapping, if you notice that any breaker feels warm to the touch when you flip it, that is a warning sign. A warm breaker indicates it has been carrying load at or near its limit. Do not ignore this.
Circuits that include unexpected combinations of rooms. Finding that your master bedroom and the garage share a circuit, or that one breaker controls half the kitchen and half the living room, suggests the wiring has been modified at some point. These configurations are worth reviewing with a licensed electrician.
Breakers that trip during mapping. If a breaker trips while you are testing it, that circuit was already near its limit. Note this carefully and do not simply reset and move on.
Warm breakers and circuits running near capacity represent a recognized home fire safety risk: heat from overloaded conductors can ignite surrounding materials inside wall cavities before any visible symptom appears. Flickering lights on a circuit that appears correctly labeled are often a symptom of loose wiring at a junction box, an overloaded circuit, or a failing breaker rather than a light fixture problem. Your panel map is the tool that points an electrician to the right circuit for diagnosis.
When to Call a Professional Instead of Mapping Yourself
Panel mapping as described here is appropriate for most homeowners in homes with standard, reasonably modern panels. Several situations call for professional involvement from the start rather than a DIY mapping session:
- The panel is a fuse box, split-bus panel, or identified as Federal Pacific Electric or Zinsco
- The panel cover shows burn marks, scorch marks, or signs of arcing around any breaker
- Breakers trip repeatedly under normal loads
- The panel feels warm on the outside
- Wiring inside the panel is aluminum throughout the branch circuits (common in homes built between approximately 1965 and 1973)
- You discover that the service entrance conductors, the large wires entering the top of the panel from the utility, are damaged or improperly protected
In older homes particularly, home electrical hazards identified during a panel mapping session are often the first clear documentation that professional electrical work is overdue. A licensed electrician conducting a professional panel mapping and inspection can assess conditions inside the panel that a homeowner cannot safely access and provide a complete picture of the system's current state.
Ready to Have Your Panel Professionally Mapped and Inspected?
Mister Sparky's licensed electricians provide home electrical inspections that cover complete panel mapping, circuit identification, labeling, and system condition assessment, that cover panel condition, circuit loads, grounding, and code compliance. If your panel is unlabeled, outdated, showing signs of problems, or needs updating after recent electrical work, the team is available 24/7.
Book an appointment or find your local electrician to get your panel accurately mapped and your electrical system fully documented.